

Well now I'm back at home I thought I'd try and progress my Malifaux board a bit. Today I started work on the buildings to give the board some higher levels of play.
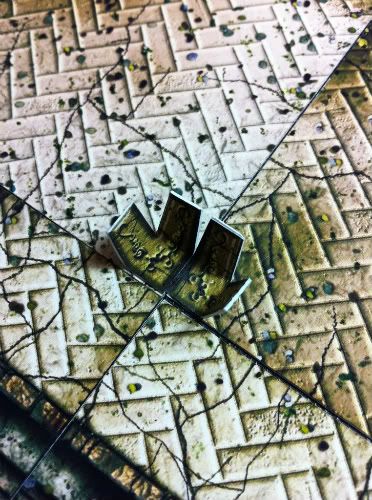
You start by attaching the 'anchors' to the board tile. These can lie flat when not used or are used to hold the wall posts.
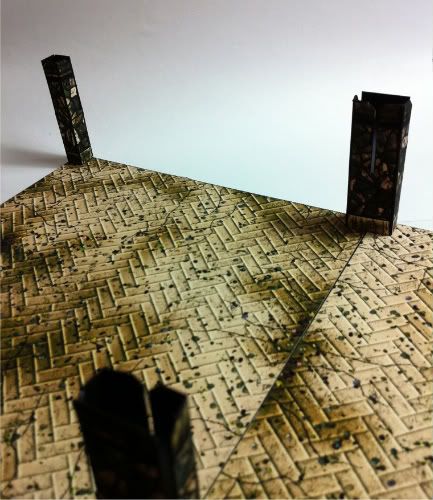
Then place on the wall posts.
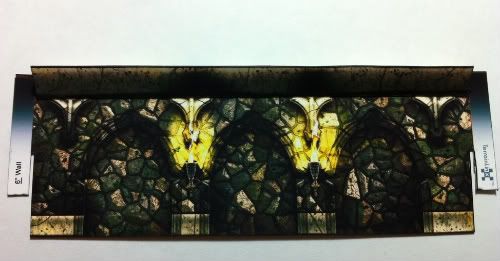
Then build up the walls. These are double thickness of card plus a strengthener on the top to stop it warping and to help support the floor tile above it.
Once they are in place this is how they start to look. The walls lock into place and give the building a lot of strength.
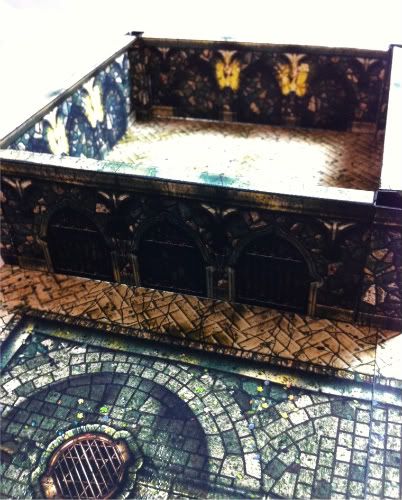
This will have a floor tile on the top of it with railings around and a ramp leading up to it. This part is going really quick and theres every chance I can get this completed this weekend.
Fingers crossed.
These are looking brilliant! Great work Andy, can't wait to see them in the flesh and have LCB chase Seamus around the streets! :D
ReplyDeleteI'm following these scenery posts with interest, thinking about doing my own at some point. What do you think your costs are for a 3'x3' set?
ReplyDeleteHi mike3838, glad your following this!
ReplyDeleteI think so far the costs have been:
PDFs from Worldworks Games £7.20
Floor tiles £4
Card Stock £4
Foam Board £4 for 2 A1 sheets
Knives, Steel Rule Glue £3.50
Printer ink £8 for 6 cartridges
So all in for a 3 x 3 board about £31 depending upon your printer and amount of walls and ramps and stuff.